


Sister article: HEIDENHAIN presets and work zero – the Chinese guide; related: HEIDENHAIN touch probe calibration: iTNC 530 uses MP, TNC 640/TNC7 uses Cfg, TCH PROBE 31 / 481 tool measurement, HEIDENHAIN conversational programming for beginners, iTNC 530 vs TNC 620 / 640 / TNC7, HEIDENHAIN TNC block quick reference, iTNC 530 manuals: NC software numbers versus document IDs.
8.1 First separate the coordinate systems
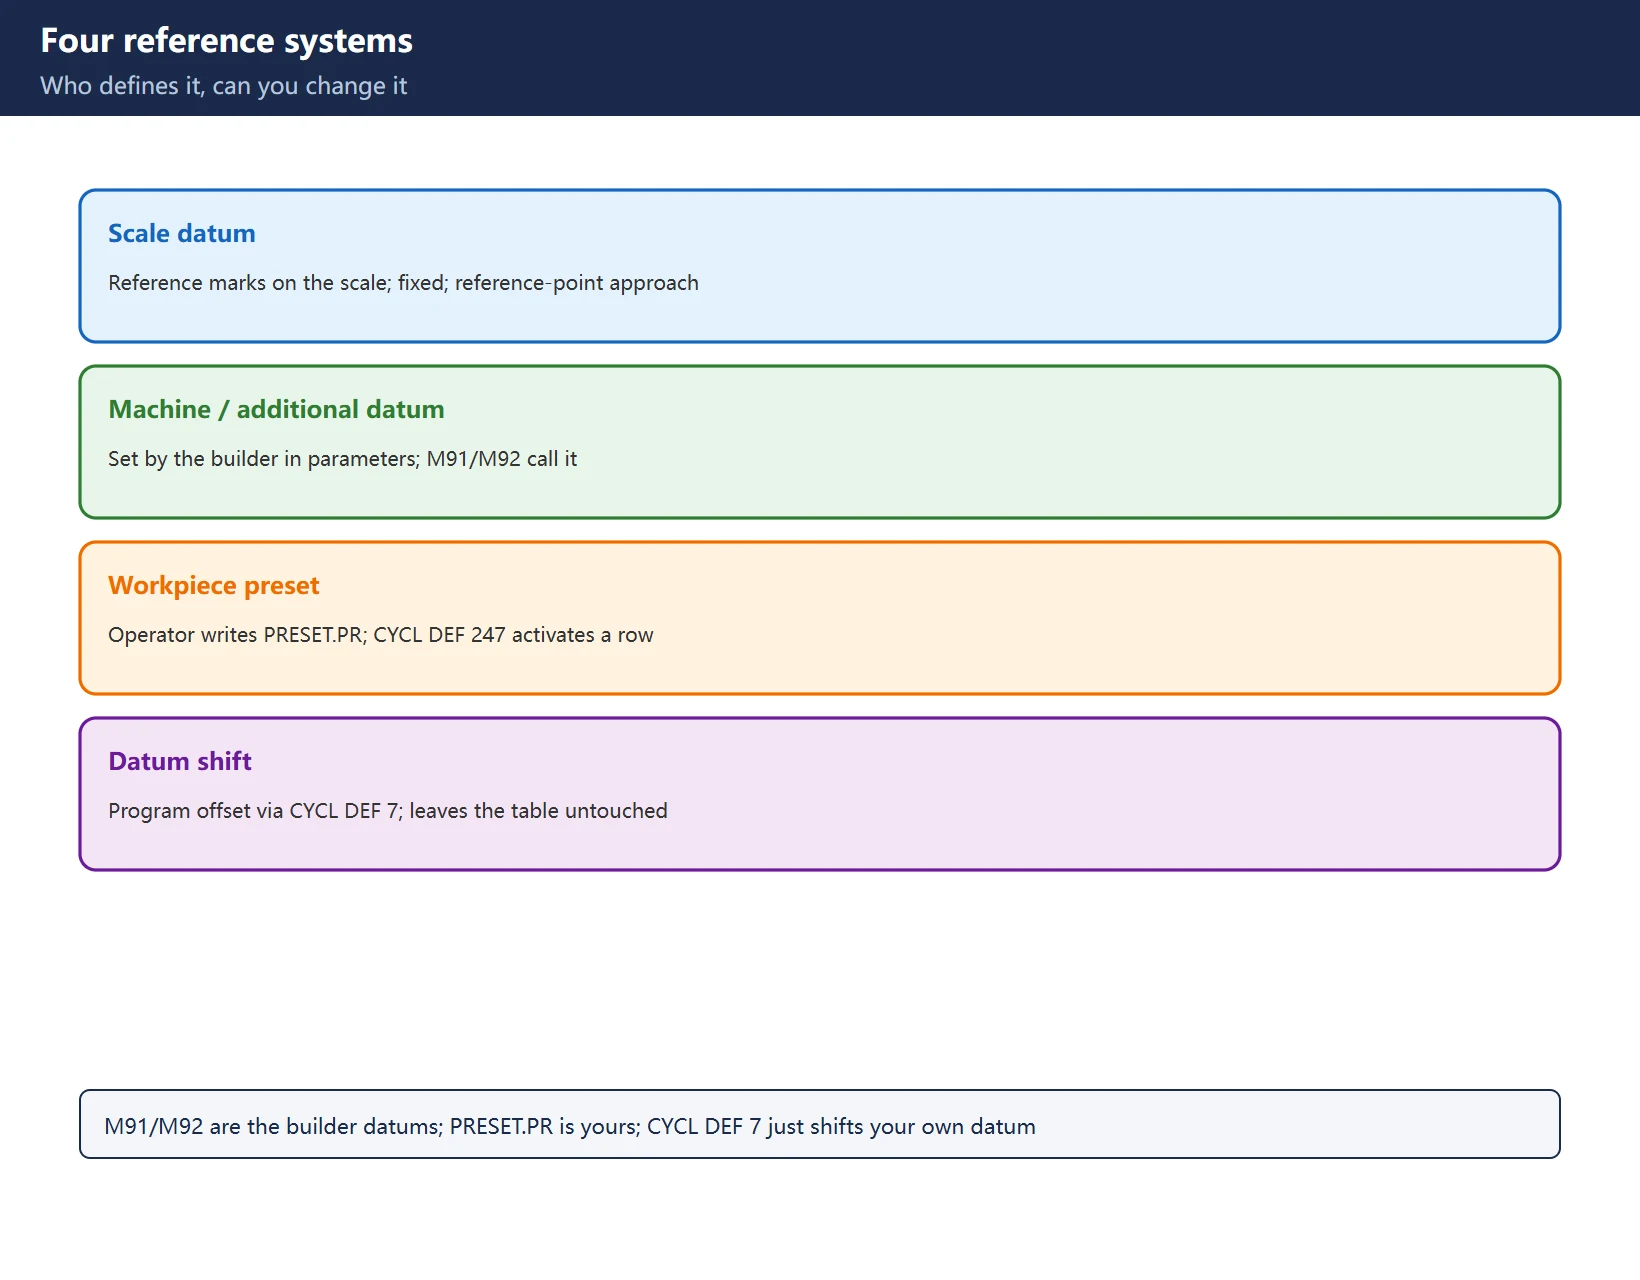
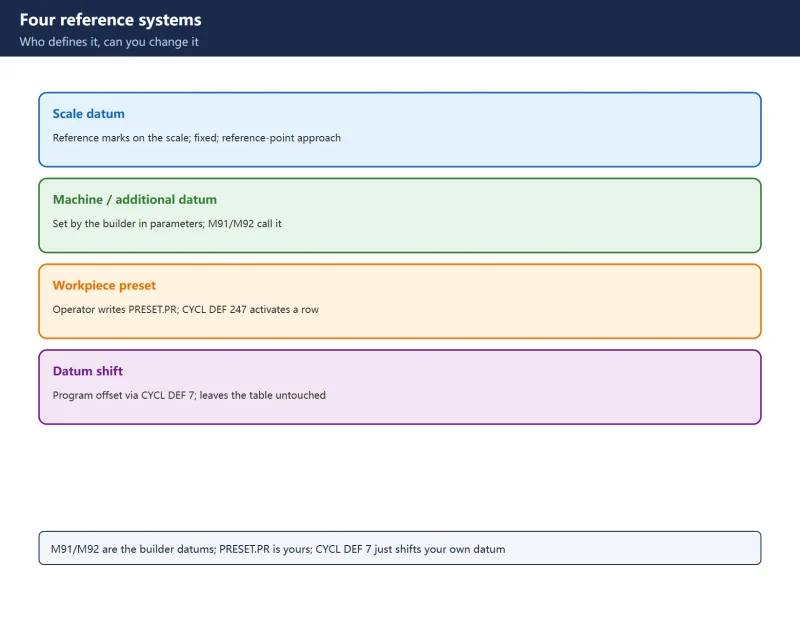
| Name | Defined by | Can you change it | Activated by |
|---|---|---|---|
| Scale datum | Reference marks on the scale | No | Reference-point approach |
| Machine datum / additional machine datum | Machine builder, in machine parameters | Normally no | M91 / M92 |
| Workpiece preset | Operator, stored in PRESET.PR | Yes | CYCL DEF 247 |
| Datum shift | Operator, an offset in the program | Yes | CYCL DEF 7 |
Table 1. The reference systems at a glance (terminology varies by TNC generation; check your manual)
One sentence to keep: M91/M92 refer to the builder’s datums, PRESET.PR holds your own datums, and CYCL DEF 7 just shifts your own datum a little further. Mixing the three is the number one source of dimensional drift.
8.2 Structure of the PRESET.PR table
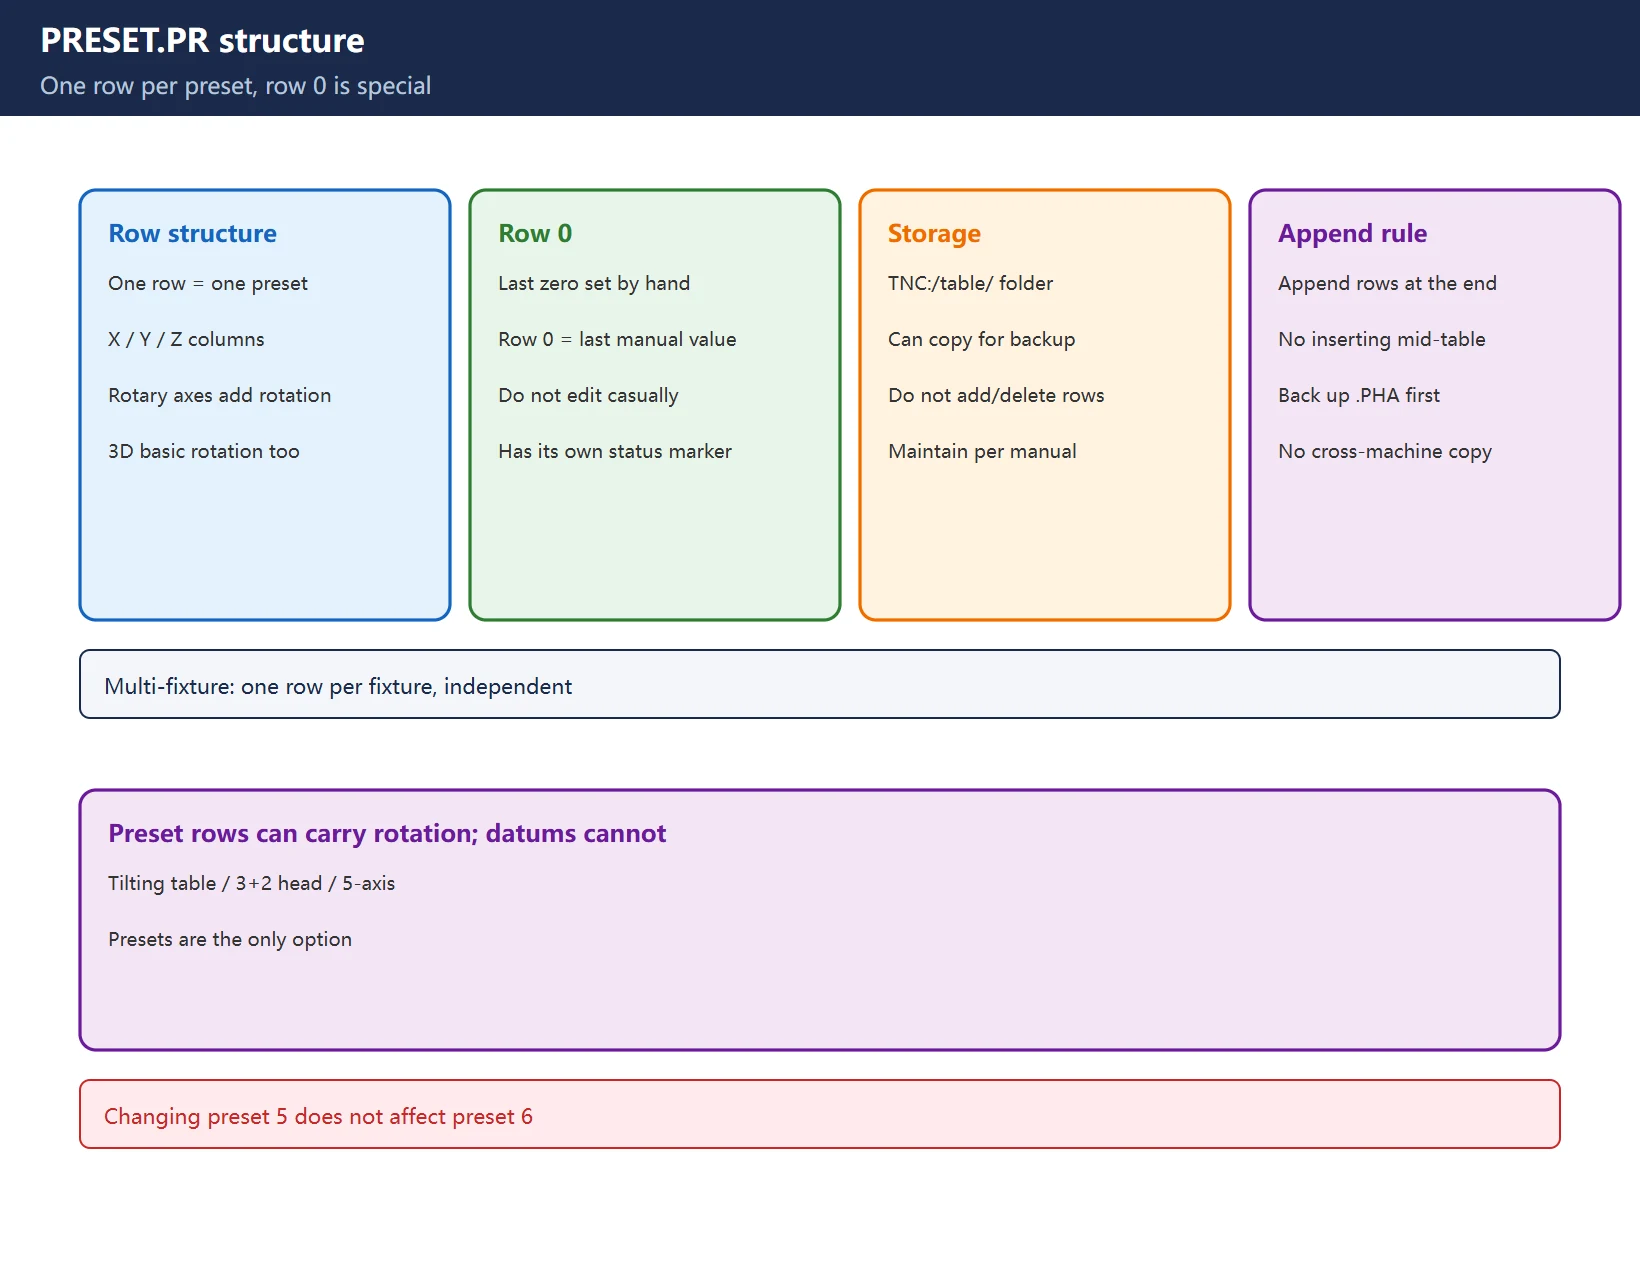
One row is one preset: X / Y / Z columns (plus basic rotation and 3D basic rotation columns on machines with rotary axes). The last zero you set by hand is written into row 0 – activating row 0 activates the last manually set datum.
- The table lives in the table folder of the TNC drive (
TNC:/table/) and can be copied for backup; do not add or delete rows casually – maintain it the way your manual prescribes. - For safety, append rows at the end rather than inserting in the middle.
- On machines with rotary or tilting axes, a preset row can carry basic rotation, which a datum cannot (see 8.5).
Table 2. PRESET.PR row essentials (column count varies by machine; check your manual)
8.3 Where presets can be edited
This is the wall beginners hit: the preset table is editable only in Manual Operation and the electronic handwheel modes. Programming mode can open it for viewing but not editing. To write a measured value into a row from a program, use the FN 17 system write described in 8.4 rather than typing in the edit screen.
8.4 Do not mix the three mechanisms
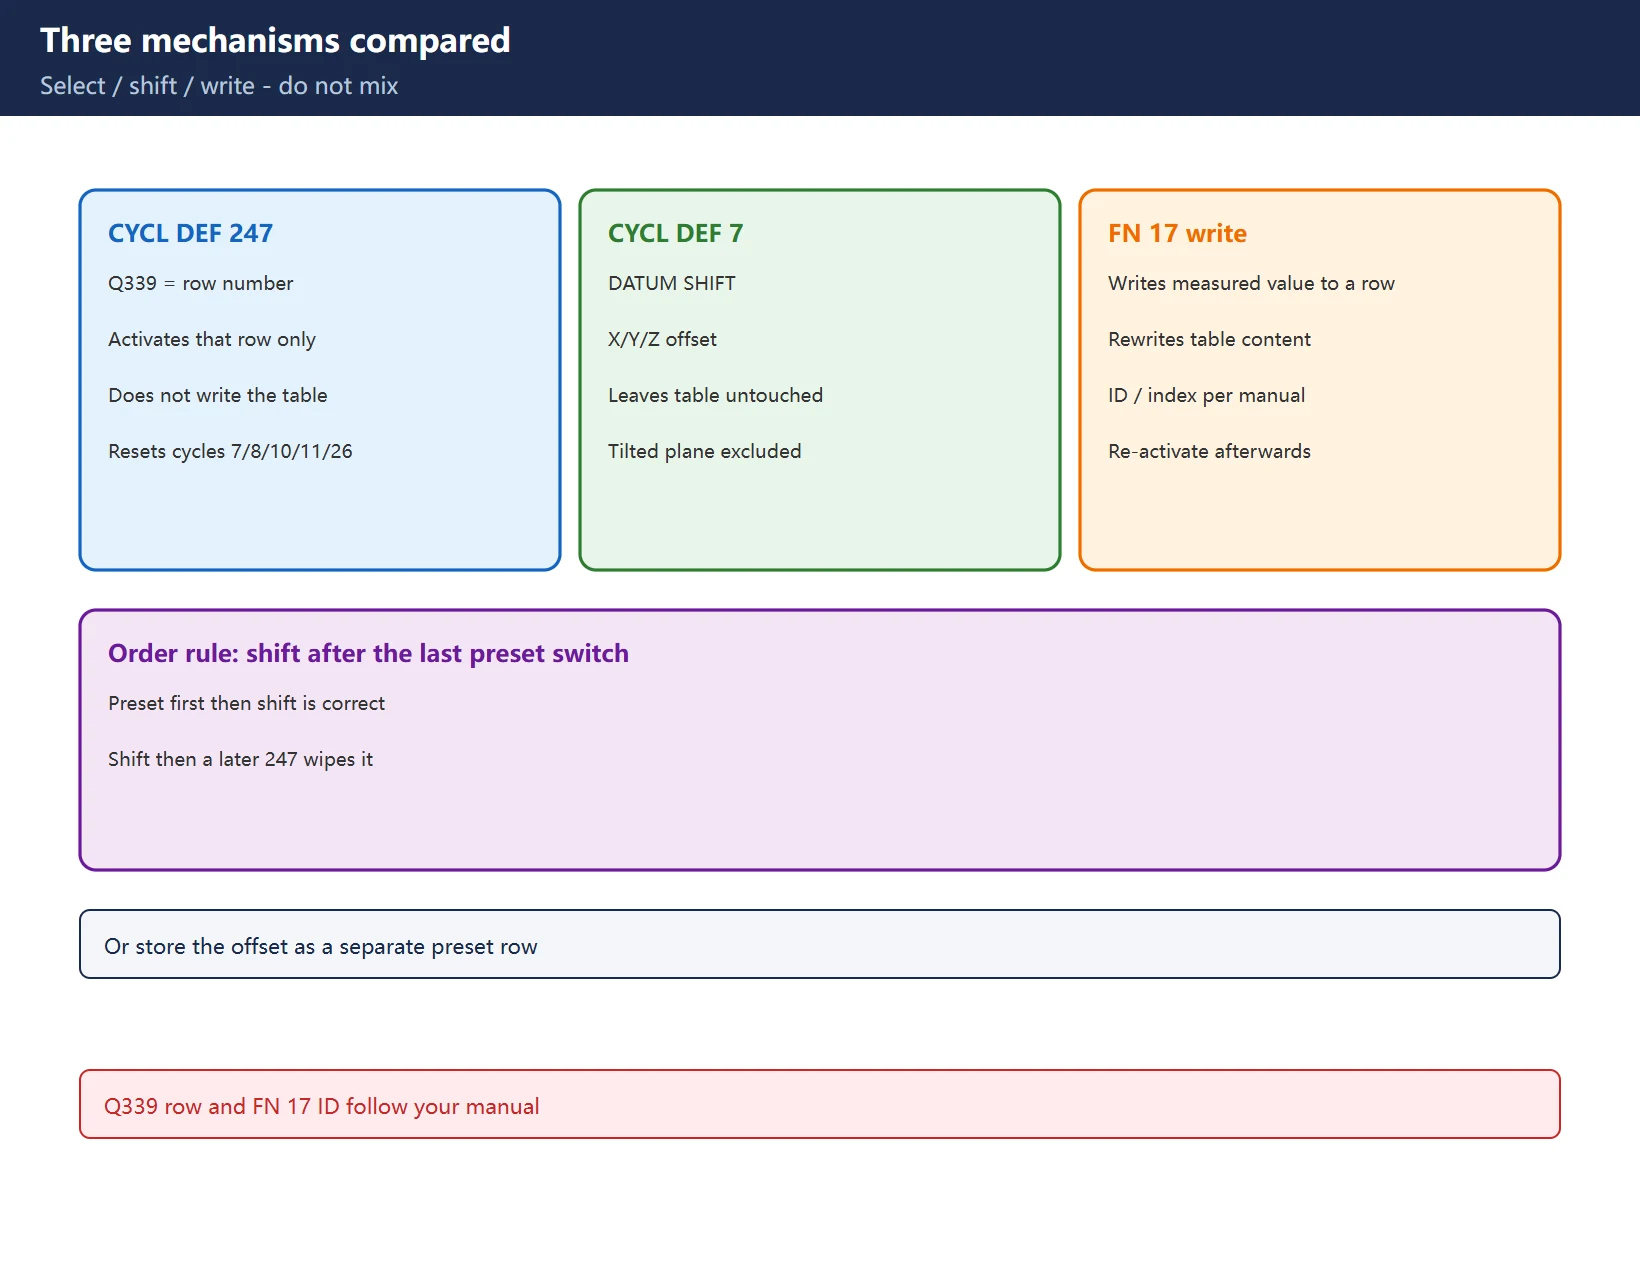
This is the most valuable point in this guide, repeated in English references and almost absent from Chinese material:
| What you want to do | Use this | Effect on PRESET.PR |
|---|---|---|
| Pick one preset row as the active zero | CYCL DEF 247 ... Q339=row | Does not write the table; only activates that row |
| Add an offset on top of the active zero | CYCL DEF 7 DATUM SHIFT with X/Y/Z | Leaves the table untouched; temporary shift only |
| Write a measured value into a row | FN 17 system write (ID / index check your manual) | Rewrites that row in the table |
Table 3. Boundaries of the three mechanisms (FN 17 parameters follow your manual)
The trap: activating a preset makes the control reset any datum shift previously set with CYCL DEF 7, along with mirroring, rotation and scaling (CYCL DEF 19 tilted working plane is the exception). So “switch preset first, then shift” is correct; “shift first, then another CYCL DEF 247 later” wipes the shift.
Program-order rule: place the datum shift after the last preset switch, or store that offset as a separate preset row instead of using CYCL DEF 7.
8.5 Why presets beat datums for multi-fixture work
- Multiple stations or fixtures: one preset row per fixture, each an absolute datum that does not interfere with the others – changing preset 5 does not affect preset 6.
- Small offsets inside one part: use a datum (CYCL DEF 7) without touching the preset table.
- With a tilting rotary table, a 3+2 head or five-axis kinematics, the preset table is the only practical option: a preset row can carry basic rotation and 3D basic rotation; a datum cannot.
8.6 Three manual setup methods
- Touch off with a tool: with a known shim thickness d, touch the surface and enter Z = d, not 0 – entering 0 bakes the shim thickness into the size and risks marking the part.
- Edge finder or dial indicator: collect each position manually on machines without a probe.
- 3-D touch probe: MOD -> probe -> preset any axis / corner / circle center / centerline, using the built-in cycles. Probe calibration parameters live in MP on iTNC 530 and in Cfg on TNC 640/TNC7; see HEIDENHAIN touch probe calibration and TCH PROBE 31 / 481 tool measurement.
8.7 Setting Z when tool length is known
Z = tool length L + surface position d, where d is the known shim thickness between tool and part. Do not enter 0. The formula is the official one, but the definition of L (tool tip versus holder reference) varies by machine and tool-offset method – check your manual.
8.8 What M91 and M92 really do
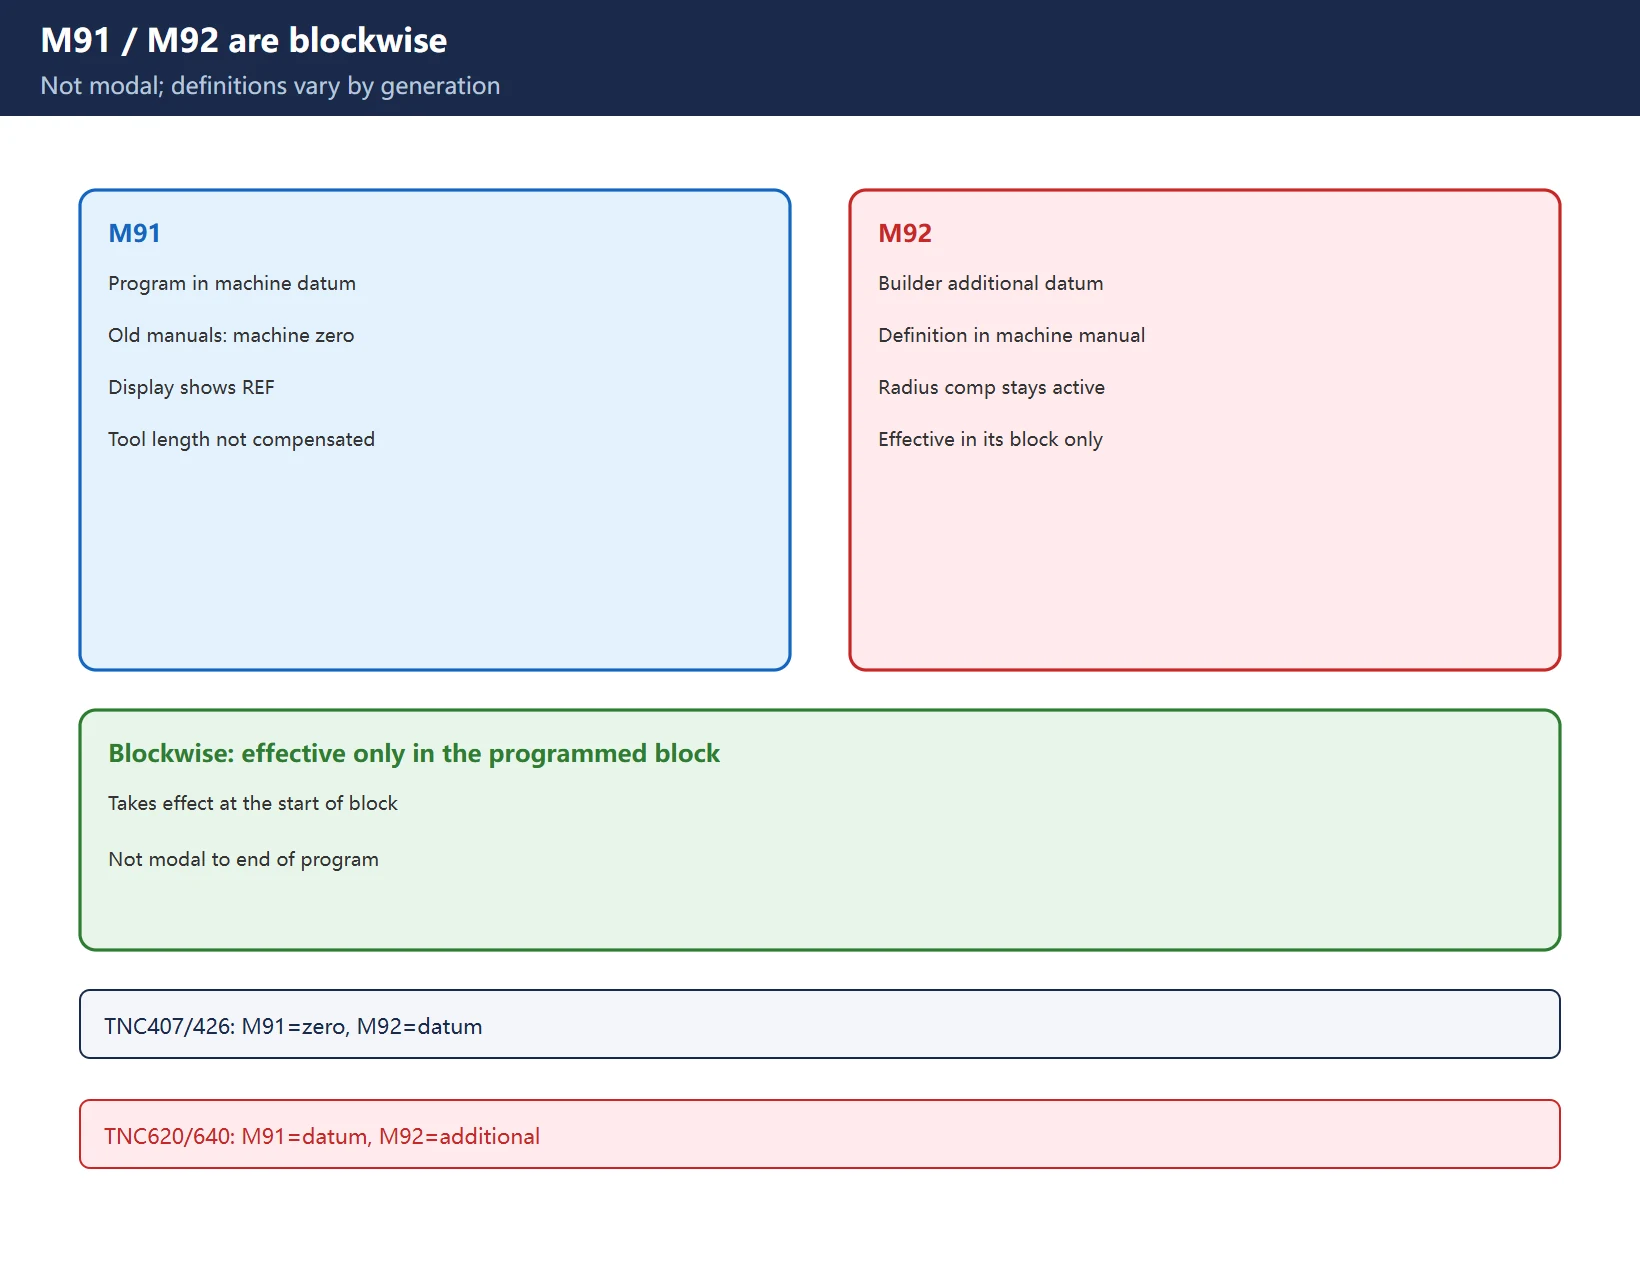
The official manuals are explicit: M91/M92 are effective only in the blocks in which they are programmed, taking effect at the start of the block – they are not modal until the end of the program. That corrects a lot of shop-floor hearsay.
- M91: program in the machine datum (older manuals call it machine zero). Coordinates appear with REF on the display.
- M92: program in the additional machine datum / machine preset defined by the builder in parameters; its exact meaning is in the machine manual.
- In both, tool length is not compensated, while tool radius compensation stays as programmed.
⚠️ Generation difference: older manuals (TNC 407 / 426) define M91 as machine zero and M92 as machine datum; newer manuals (TNC 620 / 640) define M91 as machine datum and M92 as the additional machine datum / machine preset. Verify M91/M92 against the manual for the machine before reusing an old program across generations.
8.9 MP versus Cfg activation behaviour
Following iTNC 530 vs TNC 620 / 640 / TNC7: on an iTNC 530, whether an MP change needs an NC restart (RUN) or a PLC restart (PLC RUN) depends on the “activation behaviour” column in the manual. “All MPs need a full restart” and “MP changes take effect immediately” are both myths. Back up .PHA first, and cross-check the generation cross-reference.
8.10 Status display and common misreads
After a preset is activated, the status display shows the active preset number next to the preset symbol; a manually set row 0 has its own marker. When dimensions shift as a whole, check which preset row is active before touching tool offsets or pitch compensation – reversing that order wastes hours.
For a minimal program template, see HEIDENHAIN conversational programming and the TNC block quick reference; for manual sources, see iTNC 530 manuals and the HEIDENHAIN error-code reference.
Frequently Asked Questions
What is the difference between a HEIDENHAIN preset and a workpiece datum, and when should I use each?
A preset is one absolute row in PRESET.PR, suited to multiple fixtures and the only workable option with a tilting axis. A datum (CYCL DEF 7 DATUM SHIFT) is a temporary shift on the active zero that leaves the preset table untouched. Use a datum for offsets inside one part and a preset for a whole fixture change.
Can CYCL DEF 247 and CYCL DEF 7 be used together? Why does switching presets wipe the datum shift?
Yes, but order matters: activating a preset resets any previous datum shift, mirroring, rotation and scaling (tilted working plane excluded). Put the datum shift after the last preset switch, or save that offset as its own preset row.
How do I set the Z zero with a known tool length, and will touching off damage the part?
Use Z = tool length L + surface position d, where d is a known shim thickness – never enter 0. Touching off directly can mark the part, so use a thin shim, an edge finder, a dial indicator or a 3-D probe. The definition of L and the exact procedure follow your machine manual.
Last updated: 2026-11-19
Where to go next
- FANUC Troubleshooting — the full guide library: alarms, diagnosis numbers, servo, spindle, PMC and electrical faults, organised by symptom.
- CNC Repair Tools — which instrument measures what: multimeters, clamp meters, insulation testers and oscilloscopes, with the specification that actually matters.
- Remote Technical Support — have the readings reviewed with you: alarm reverse lookup, PMC ladder analysis and servo tuning advice by call. Repair companies and integrators welcome.
- Buying & Ownership Decisions — refurbished vs new, used-machine checks, software licensing and manuals: spend with the field facts in hand.
Read the guide, get the right instrument, or walk the diagnosis through with someone — pick whichever you need.
The original Chinese version — same procedure, with the full field notes.





















暂无评论内容