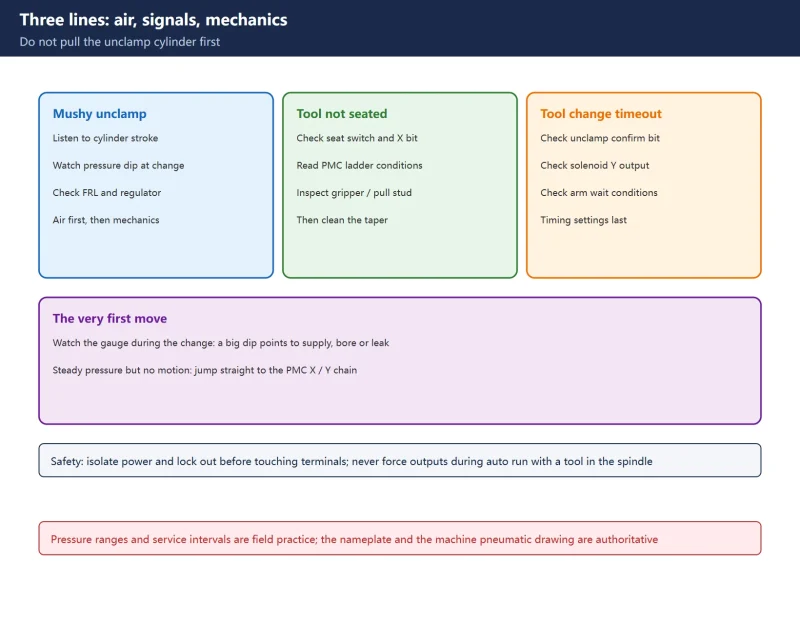



🚨 Scope and compliance: Pressure ranges, service intervals and the four-step field sequence above are field practice, not an official parameter table for any brand. Working pressure is defined only by the machine nameplate, pneumatic diagram and the delivered documentation. Air quality classes follow the published ISO 8573-1 grading and Siemens official instrument-air requirements. PMC X / Y addresses are defined by the machine tool builder; this article supplies no “universal address table”. The few addresses mentioned are explicitly marked as case-study values from public repair reports. PMC forcing, live testing and spindle internal work must be performed by qualified personnel under LOTO. This article provides no download link, file mirror or crack for licensed manuals or software.
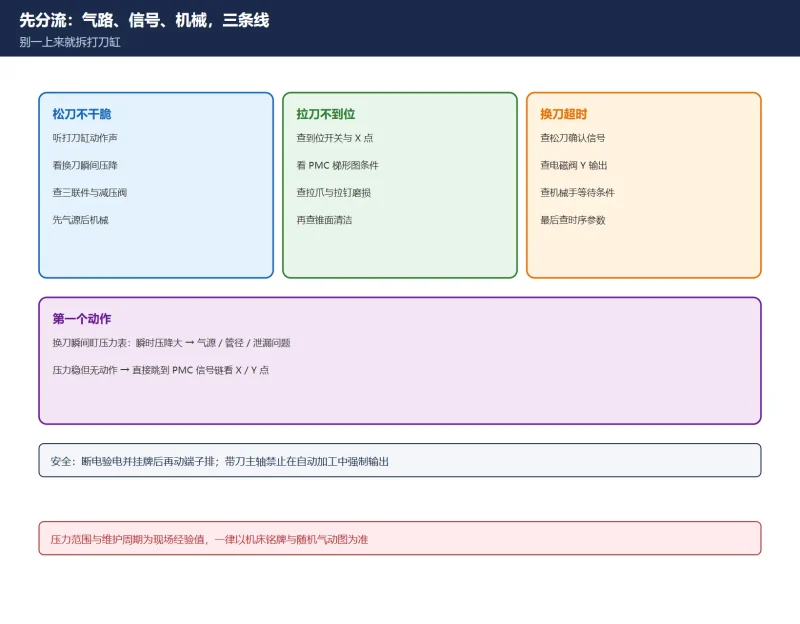
30-Second Triage
Table 0. Six symptom groups and their first checkpoint
1. Split the Problem: Air or Mechanics?
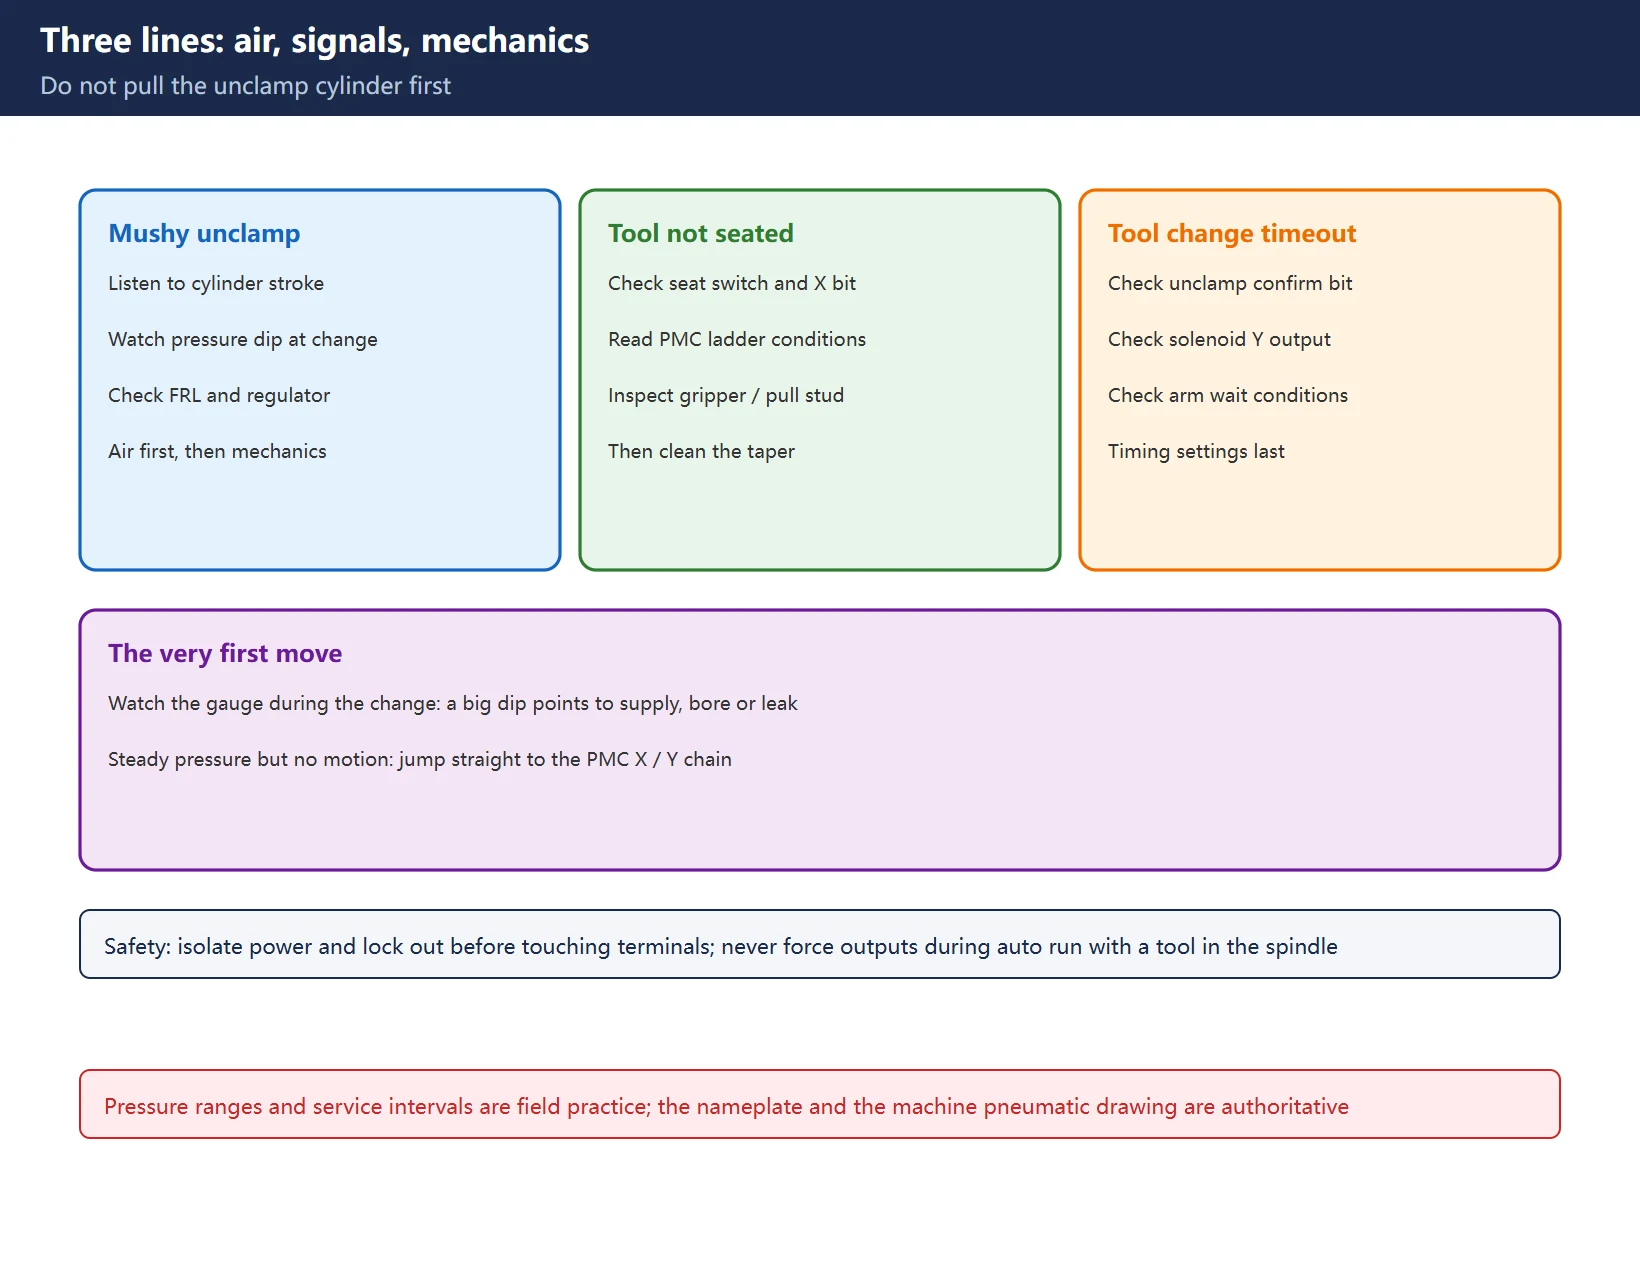
Do not open the spindle first. Narrow the scope by symptom:
| Symptom | Most likely side | One action to take first |
|---|---|---|
| Mushy, weak unclamp | Air / pressure | Watch the gauge during the tool change for a dip below the switch threshold |
| Tool not seated, no seat signal | Signal / switch | Check whether the unclamp/clamp seat inputs toggle in the PMC diagnostic screen |
| Timeout with the cycle stopped midway | Any stage of the chain | Walk “command → output → valve → cylinder → seat” stage by stage |
| No motion and no hiss | Electrical / output | Measure rated voltage across the solenoid coil |
| Motion present but clamping is weak | Mechanical | Clean taper and bore, inspect pull stud and gripper wear |
Table 1. Symptom split
A related but separate topic is how a controller names and numbers its own faults; for the SINUMERIK side see the SINUMERIK 840D sl alarm list by number range, and for PLC layer structure see the SINUMERIK PLC basic program: FB1, FB2 and OB100.
2. Air Supply: Pressure Reference and Air Quality Classes
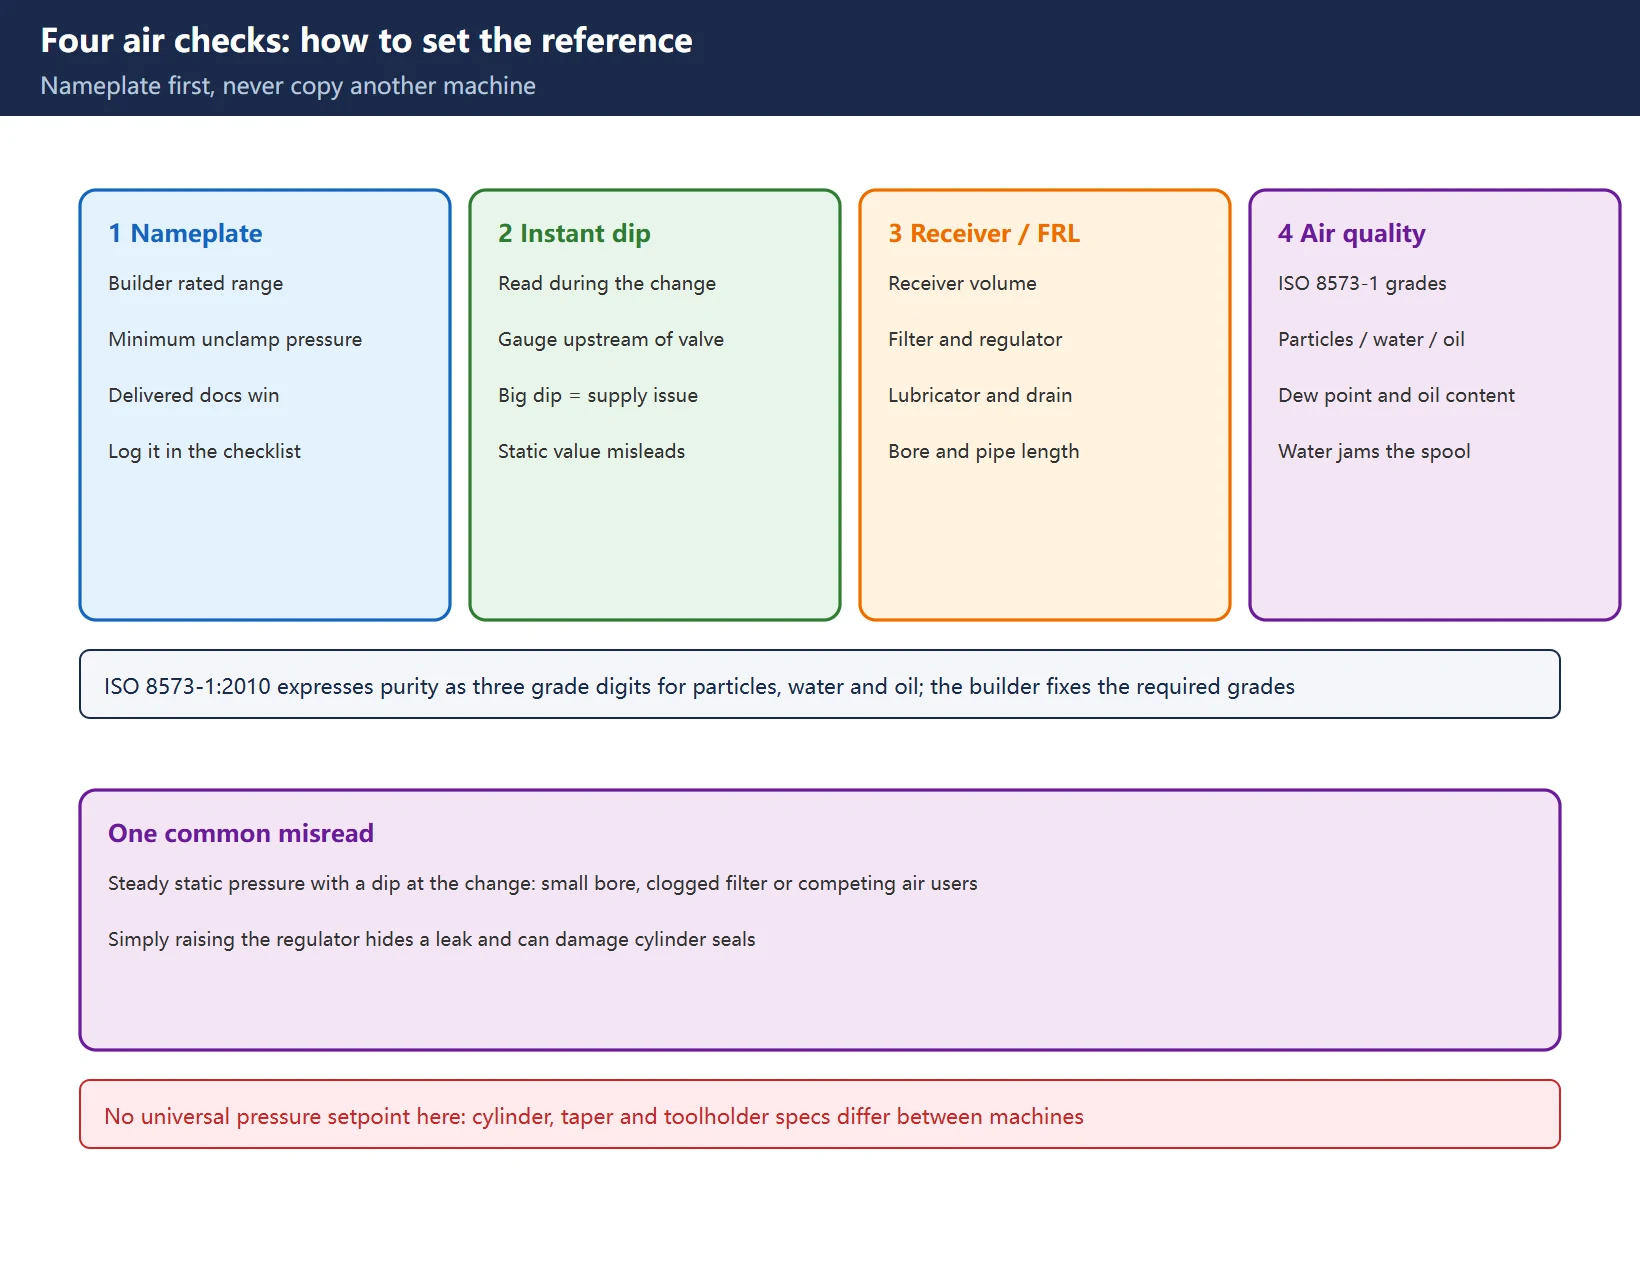
There is no universal pressure value. Public material on the same fault quotes 0.4–0.6 MPa, 0.5–0.7 MPa and 0.6–0.8 MPa, because drawbar cylinder bore, Belleville stack and any pressure intensifier differ by machine. The decision order is therefore:
- Read the rated pressure and allowable fluctuation from the machine nameplate / pneumatic diagram / delivered manual. This is the only authority.
- Read a mechanical gauge at the instant of unclamp, not the static regulator gauge. Static-OK / dynamic-dip is the single most common trap.
- Check receiver volume and residual pressure, end-of-line drop, and whether the first tool change of the day waits for pressure recovery.
- Check the FRL unit: condensate drain, filter element differential pressure, lubricator level.
Air quality affects repeatability too. ISO 8573-1:2010 grades solid particles, water (pressure dew point) and total oil separately:
| Class | Solid particles (max size) | Pressure dew point | Total oil |
|---|---|---|---|
| Class 1 | ≤ 0.1 µm | ≤ −70 °C | ≤ 0.01 mg/m³ |
| Class 2 | ≤ 1 µm | ≤ −40 °C | ≤ 0.1 mg/m³ |
| Class 3 | ≤ 5 µm | ≤ −20 °C | ≤ 1 mg/m³ |
| Class 4 | ≤ 15 µm | ≤ +3 °C | ≤ 5 mg/m³ |
| Class 5 | ≤ 40 µm | ≤ +7 °C | ≤ 25 mg/m³ |
Table 2. ISO 8573-1:2010 purity grades (published classification)
Siemens official instrument-air guidance specifies a common requirement of Class 3: pressure dew point ≤ −20 °C and total oil ≤ 1 mg/m³, with particles controlled at micrometre level for that edition. 🚨 Do not assemble a requirement from different classes: it is common to see “dew point −20 °C (Class 3) + oil 1 mg/m³ (Class 3) + filtration 1 µm (Class 2)” written as one line, which mixes two grades. A defensible acceptance clause states the full three-digit tuple (for example 2.4.1), or quotes the delivered manual verbatim.
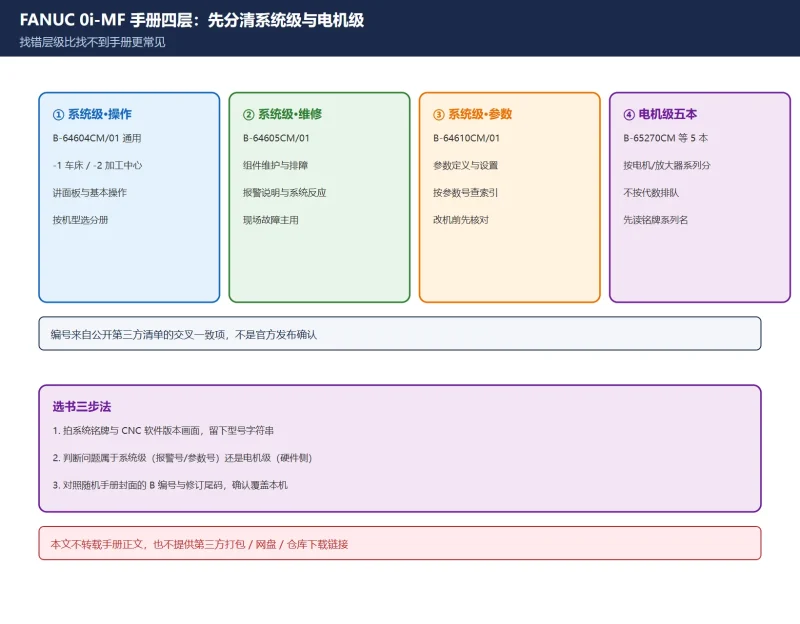
Condensate corrodes spools, swells seals and freezes valves in winter; excess oil contaminates the spindle taper. Neither shows up on a pressure gauge. For how to locate the pneumatic diagram in the delivered documentation, see the discussion of manual entry points in FANUC 0i-MF manual identification — that article is about official documentation channels, not about downloading copies.
3. The PMC Signal Chain: Pressure Switch to Seat Confirmation
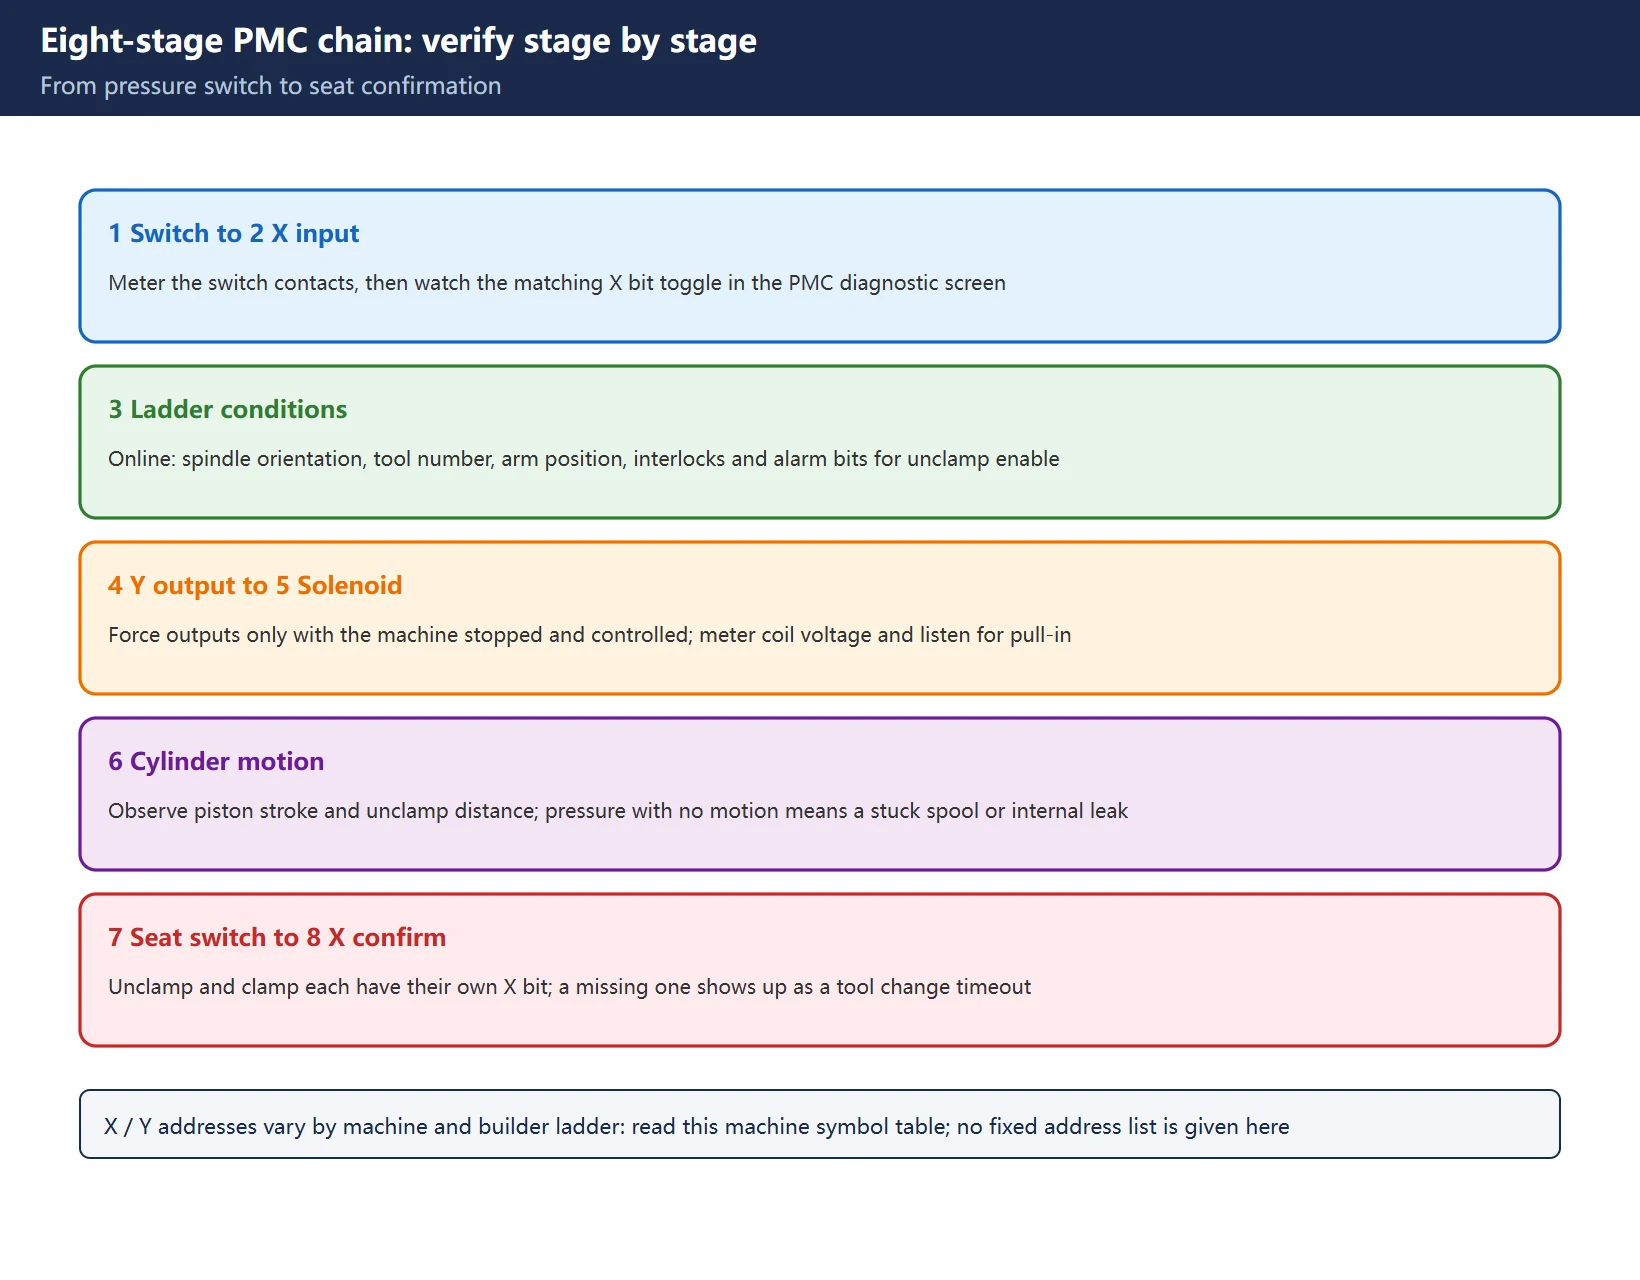
This chain is what separates a signal-level guide from the generic “check air and mechanics” articles. Eight stages, any one of which can present as “unclamp failure”:
| Stage | Link | How to verify on site |
|---|---|---|
| 1 | Pressure switch (NO/NC per drawing) | With gauge at threshold, measure contact continuity |
| 2 | Switch → PMC X input | Watch that X bit toggle with pressure in the PMC diagnostic screen |
| 3 | Permissive ladder conditions | Inspect the contact chain ahead of the unclamp coil: guard interlock, spindle stopped, tool-change position, E-stop |
| 4 | PMC Y output | Confirm the output bit sets, and rated voltage appears across the coil |
| 5 | Solenoid coil and spool | Listen for the click; energised but no motion means stuck spool or blow-by |
| 6 | Drawbar cylinder motion | Observe stroke: does it reach the end, does it stall partway |
| 7 | Unclamp / clamp position switches | Actuate each switch by hand and watch its input toggle |
| 8 | X confirmation back to ladder | If seat confirmation never returns, the PMC declares a timeout |
Table 3. Eight-stage chain and the check for each stage
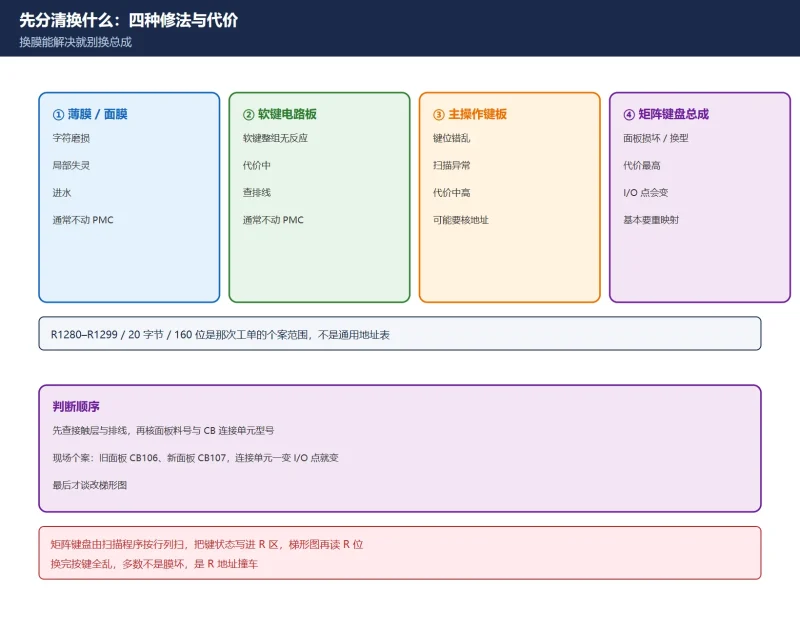
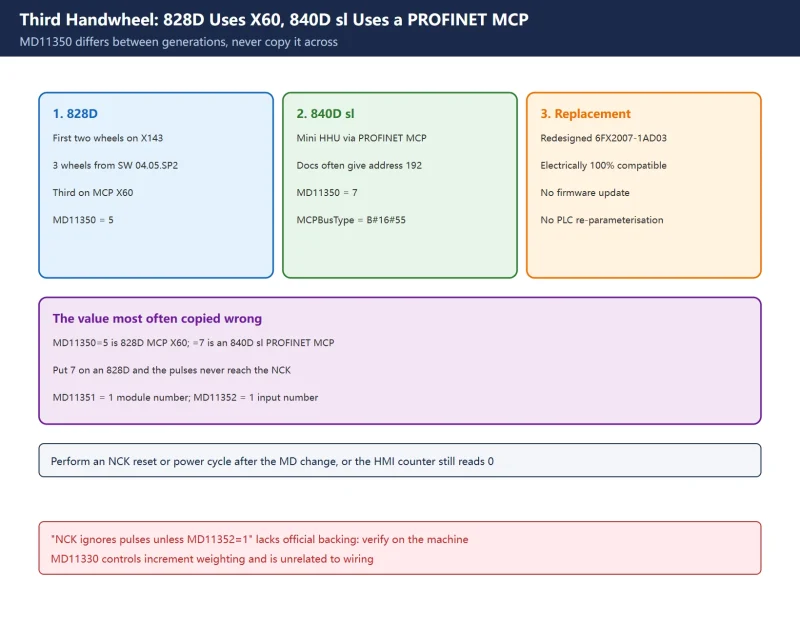
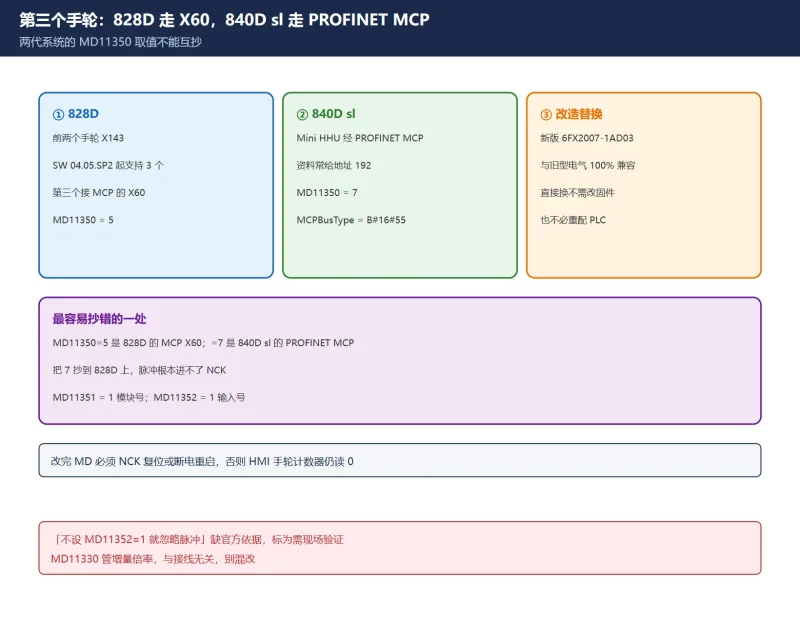
🚨 There is no universal X / Y address table. Public repair reports mention X8.2 for unclamp-in-position, Y0.6 / Y0.7 for clamp/unclamp outputs, a T timer for unclamp delay, or X1000 as a status word — but all of these belong to that one machine. The correct method is to take the signal names from the machine’s own PMC signal list / ladder symbol table, then verify each one in the PMC diagnostic screen (signal status, contact trace). The same symbol-name discipline applies to SINUMERIK work: see the 828D third handwheel and Mini HHU guide for how interface signals are named per project.
Three high-frequency root causes deserve their own callout:
- Permissives not satisfied: spindle not fully stopped, guard interlock missing, or tool-change position out of tolerance. The ladder simply never issues the unclamp output, while pneumatics are perfect.
- Chafed input wiring: vibration and swarf wear through insulation and 24 V couples into adjacent signals, producing odd behaviour such as “every key unclamps the tool”. Inspect cable ducts, the area behind the spindle and connectors.
- Leftover force / jumper: a Y point forced or a switch jumpered during earlier repair was never restored. Take a recoverable ladder backup before touching the PMC.
Forcing an output is only acceptable briefly, with the spindle isolated, the tool confirmed securely clamped, and a second person present. Never edit or download the PMC during automatic machining.
4. Leaks and the Solenoid: Three Detection Methods, Four Checks
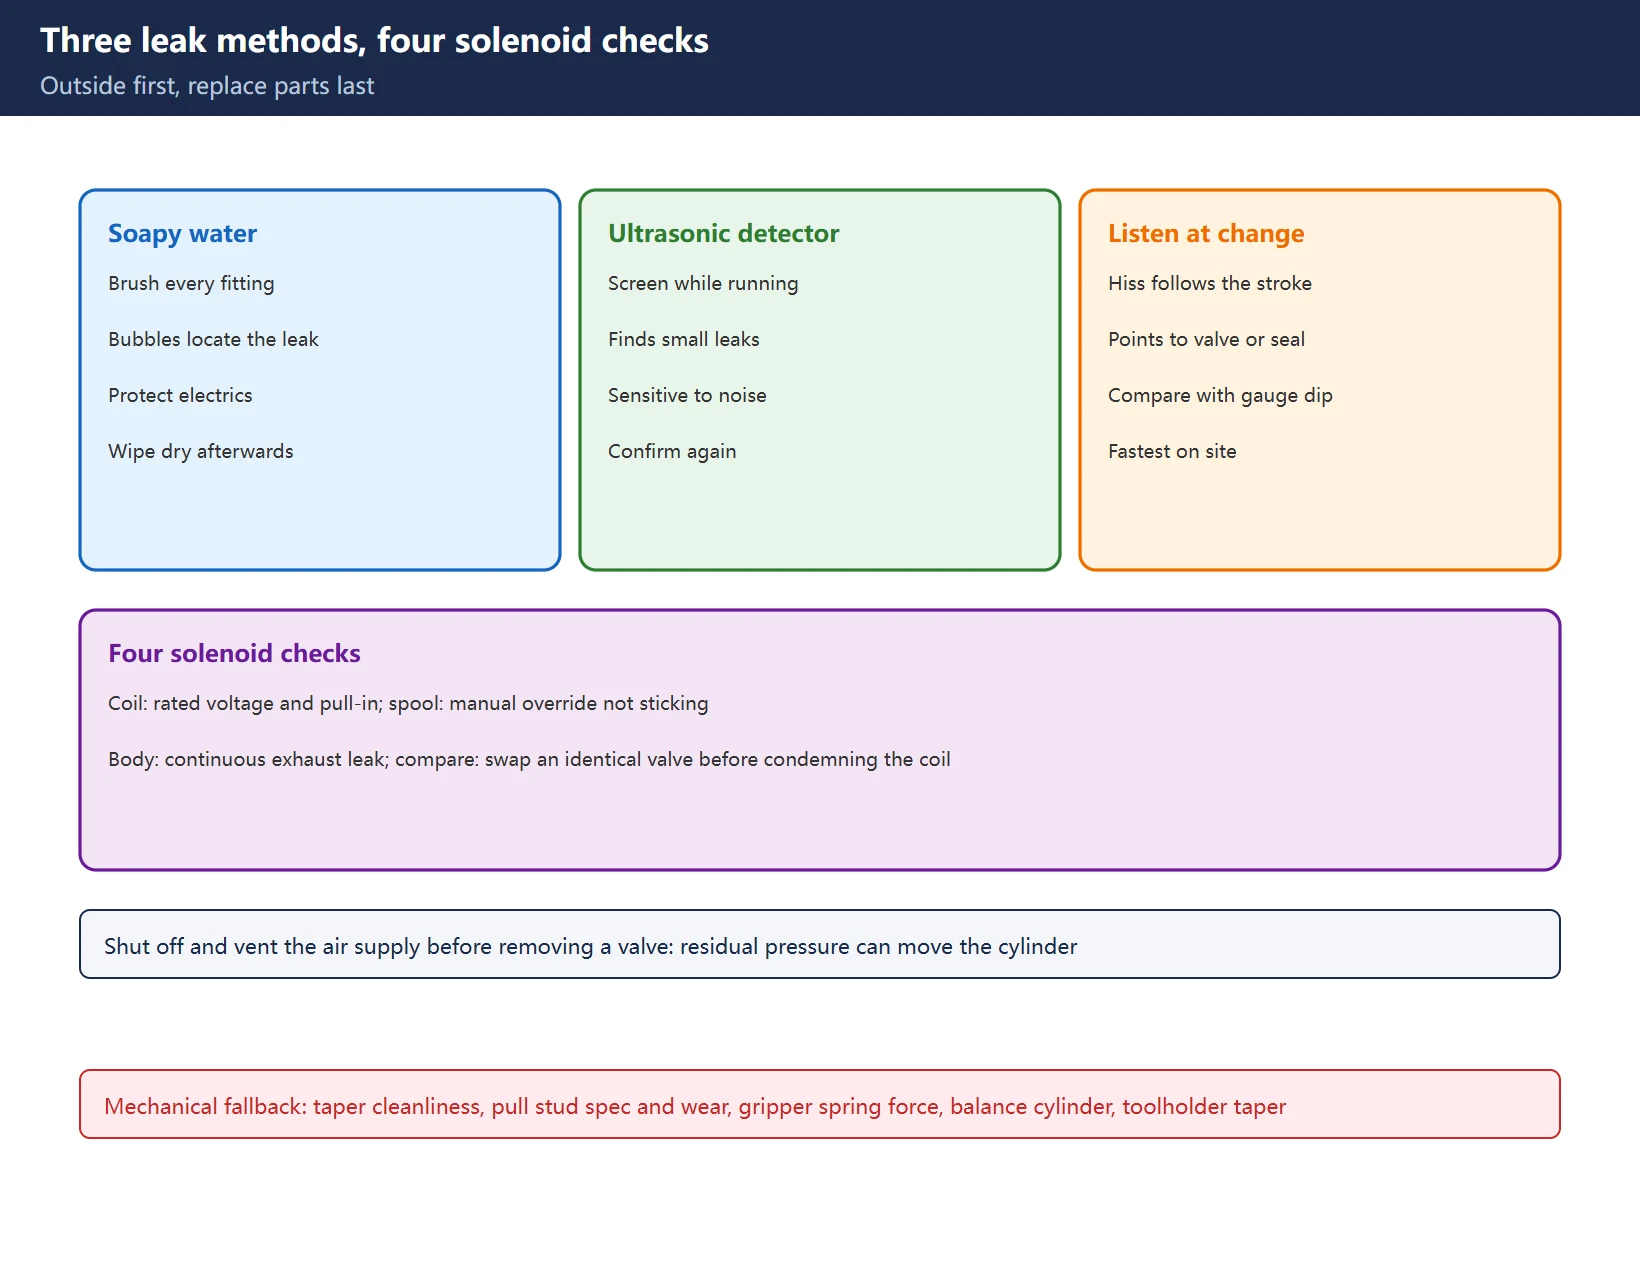
Three leak detection methods suit different locations: soapy water is best at fittings, unions and the outside of the valve body, where bubbles are visible; ultrasonic detection suits high, dense pipe runs and slight internal leakage; listening for a hiss during the tool change catches leaks that only appear under actuation (no static leak, leak under load is the classic case). Note that internal leakage (worn spool seal, cylinder blow-by) is invisible externally — confirm it by blocking the outlet and watching pressure hold, or by swapping in a known-good valve.
Four solenoid checks:
- Does the coil pull in? Listen for the click on energisation and measure coil voltage; voltage present but no click points to the coil or its suppression circuit.
- Is the spool stuck? Use the manual override after de-energising; condensate, oil sludge and corrosion are usual causes.
- Is the body leaking or passing? Continuous exhaust flow, or slight motion in both clamp and unclamp states, indicates failed internal seals.
- Same-model comparison: fit a spare valve to confirm. This is the boundary action — before swapping, verify stage 4 output and stage 1 pressure are both healthy, or you will replace valves indefinitely.
Table 4. Three leak methods and four solenoid checks
“Unclamp delay too short” is a separate cause: the mechanism is half a beat slow and the PMC times out before seat confirmation arrives. That is a change to builder logic — confirm air and switches first, then adjust the timer per the delivered documentation and record it. Do not simply lengthen the delay to hide the fault. For the general idea of reading a controller’s own diagnostic state rather than guessing, compare the A06B amplifier 7-segment code table, which is another case where the hardware reports its own state.
5. Mechanical Fallback: Taper, Pull Stud, Gripper and Balance Cylinder
Only after air and signals are cleared should you open the mechanical side:
| Part | Typical problem | Symptom |
|---|---|---|
| Tool taper / spindle bore | Chips, rust, oil film | Weak clamping, runout, poor re-clamp repeatability |
| Pull stud | Deformation, non-standard part, wrong thread depth | Not drawn fully, tool will not release |
| Gripper / Belleville stack | Wear, lost spring force, breakage | Low clamping force, dropped tool |
| Drawbar cylinder | Aged seals, internal leak, short stroke | Mushy unclamp |
| Balance / intensifier circuit | Low pressure, counterbalance drift | Tool change fault tied to Z position |
Table 5. Five mechanical fallback areas
Cleaning taper and bore is the cheapest, highest-yield action — the last two words of the field sequence. But stripping the gripper or Belleville stack is spindle-level service involving preload and balance, and belongs to a qualified service provider. Never raise air pressure to “force” a sticking mechanism free; over-pressure destroys seals and springs. For a controller-side example of how a cycle alarm is reported and traced, see SINUMERIK 828D cycle alarms 61000 / 62000 — a different system, but the same discipline of reading the actual message before acting.
6. Maintenance Checklist and Safety Boundaries
| Interval | Action | Record / criterion |
|---|---|---|
| Each shift / daily | Drain receiver and filter, read the gauge | Condensate volume, pressure stability |
| Monthly | Check filter differential pressure, lubricator level, fitting seepage | Replace element above vendor threshold |
| Quarterly | Retighten air fittings and terminals, inspect insulation wear | Run one full tool-change cycle afterwards |
| Yearly / per vendor | Verify pressure switch setpoint, test solenoid operation | Log measured value and drift trend |
| 2–3 years (field suggestion) | Preventive replacement of solenoids and seals by condition | Follow delivered maintenance schedule, not a fixed rule |
Table 6. Printable maintenance checklist (intervals are field suggestions, not vendor clauses)
Safety boundaries: isolate and bleed the air supply and tag out before opening pneumatic lines; guard against short circuits when measuring Y outputs live; confirm the tool is reliably clamped before any spindle rotation test; remove every forced signal before returning to automatic machining; export a ladder backup both before and after PMC work. If a tool drops, an abnormal impact occurs, or clamping force visibly degrades, stop the machine — do not “try one more part”.
7. How This Page Relates to the Rest of the Site
Table 7. Related pages and how they differ
This page deliberately provides no third-party file mirror, packaged manuals or cracks. For pressure switch part numbers, valve models and signal addresses, use the delivered documentation and the machine tool builder’s support channel.
Frequently Asked Questions
What causes spindle unclamp failure on a CNC machine?
In order of likelihood: (1) an instantaneous supply dip during tool change, low receiver residual pressure, or condensate / clogged filter; (2) a break in the pressure switch, seat switch or PMC input/output chain — including unsatisfied permissives, chafed wiring coupling 24 V, and leftover forced signals; (3) a solenoid coil not pulling in, a stuck spool, or valve blow-by. Mechanical issues (dirty taper, non-standard pull stud, worn gripper or Belleville springs) are the fallback, not the first stop. Only the machine nameplate and delivered manual define acceptable pressure — never a generic number from the web.
How do I troubleshoot a tool that is not seated?
First decide whether the motion did not complete or the completion signal never returned. In the PMC diagnostic screen, check whether the clamp/unclamp seat inputs toggle: if they do not, inspect switch position, the switch itself, 24 V and the signal cable; if they do toggle but the alarm persists, inspect the ladder seat condition and its timer. Then walk the eight-stage chain backwards, and only at the end clean the taper and inspect the pull stud and gripper. Take every X / Y address from this machine’s PMC signal list, not from another machine.
How do I check a PLC input point for a low air pressure alarm?
Find the pressure switch input named in the delivered drawing, then watch that bit toggle while raising and bleeding pressure in the PMC diagnostic screen. If it does not toggle, work along “switch contact → 24 V → cable → input module” with continuity and voltage measurements; a brief jumper test can confirm a failed switch, but restore it immediately. If it does toggle and the alarm remains, the fault is in the ladder permissive chain or the switch setpoint, not the input point. Isolate and bleed the air supply under LOTO first, and keep a ladder backup.
Last updated: 2026-11-10
Where to go next
- FANUC Troubleshooting — the full guide library: alarms, diagnosis numbers, servo, spindle, PMC and electrical faults, organised by symptom.
- CNC Repair Tools — which instrument measures what: multimeters, clamp meters, insulation testers and oscilloscopes, with the specification that actually matters.
- Remote Technical Support — have the readings reviewed with you: alarm reverse lookup, PMC ladder analysis and servo tuning advice by call. Repair companies and integrators welcome.
Read the guide, get the right instrument, or walk the diagnosis through with someone — pick whichever you need.
The original Chinese version — same procedure, with the full field notes.


















暂无评论内容